Smart Systems and Sensors

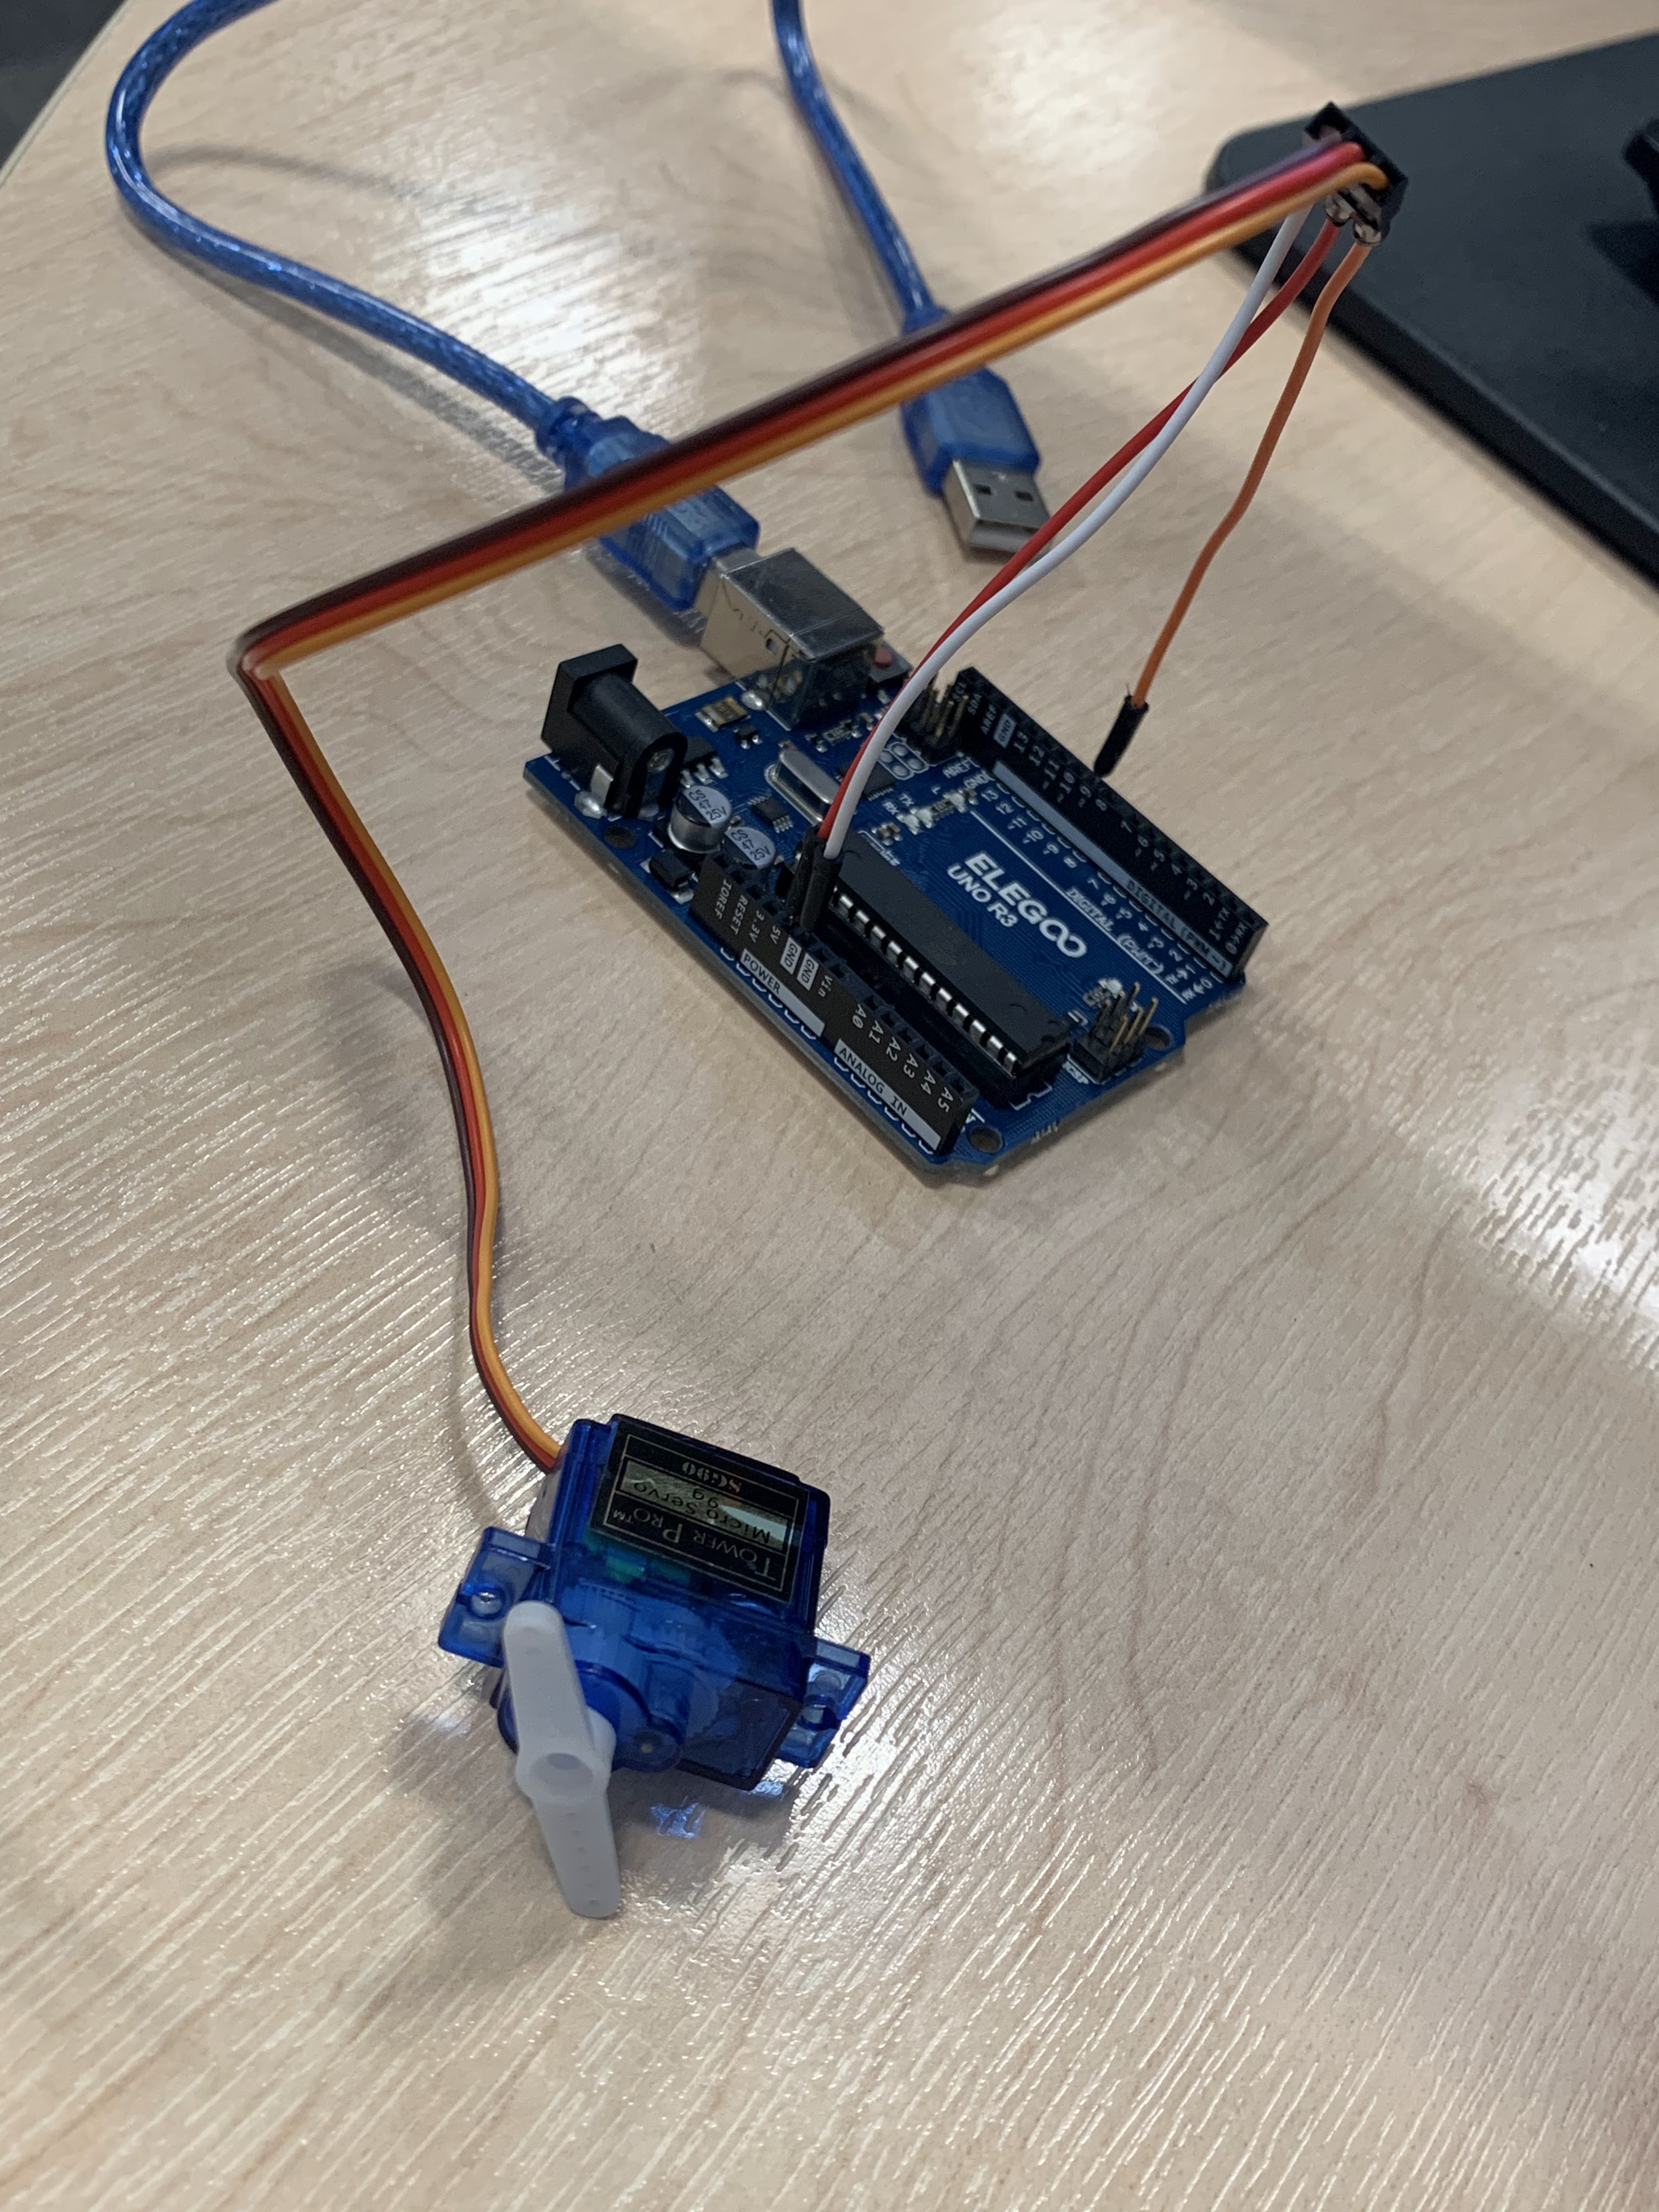
To create the image above you will need the following items;
- Arduino Uno
- USB Lead
- 3 Breadboard Jumper Wires
- Servo Motor *SG-90
Servo motors are electronic devices and rotary or linear actuators that rotate and push parts of a machine with precision. Servos are mainly used on angular or linear position and for specific velocity, and acceleration.
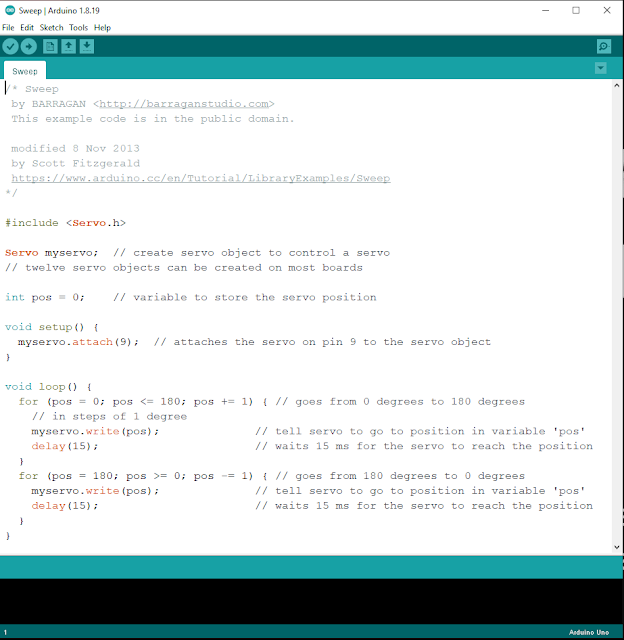
To find the code for the servo motor, open Arduino in File > Examples > Servo > Sweep. Before connecting up the devices must find out what the wires on the servo motor means and where it must be connected on the Arduino. To find this source is on the internet, snipped is shown below.
GND > Brown Wire
PWM > Orange Wire
+5V > Red Wire
Within the sweep code the for loop has three conditions for its position;
- pos <= 180 *continuation condition if the value is less than or equal to 180
- pos += 1 *add 1 to the pos
The first loop starts at 0 and if it less than or equal to 180 and then add 1. From (myservo.write(pos);) it indicates to go to that position and to wait (delay(15);) 15 milliseconds in between each position until it reaches 180.
If it is beyond 180 it will stop and transfer to the next for loop. This loop states that the starting position is 180 (pos = 180;) and if the position is greater than or equal to 0 (pos >= 0;) to minus 1 from the position (pos -= 1;).
Then write that position and wait for 15 milliseconds until it reaches 0 and to loop to the first initial loop to start again.
Upon plugging in the Arduino double check the serial port to ensure the code will be uploaded correctly.
Demonstration of the continuous loop starting at pos 0 to 180 to 0 and back
Testing a change of behaviour by changing the position to 90 degrees instead of 180 in the beginning for loop.
This will cause the motor to move slowly then a take a fast turn to repeat the loop. Seen in the below video.
Introducing an Ultrasonic sensor
An ultrasonic sensor is an instrument that measures the distance to an object using ultrasonic sound waves. It uses a transducer to send and receive ultrasonic pulses that relay back information about an object’s proximity. High-frequency sound waves reflect from boundaries to produce distinct echo patterns.
However the require code "NewPing" isn't included in the examples files. Installing a new library is needed to for this. Click on Sketch > Include Libraries > Manage Libraries to download NewPing.

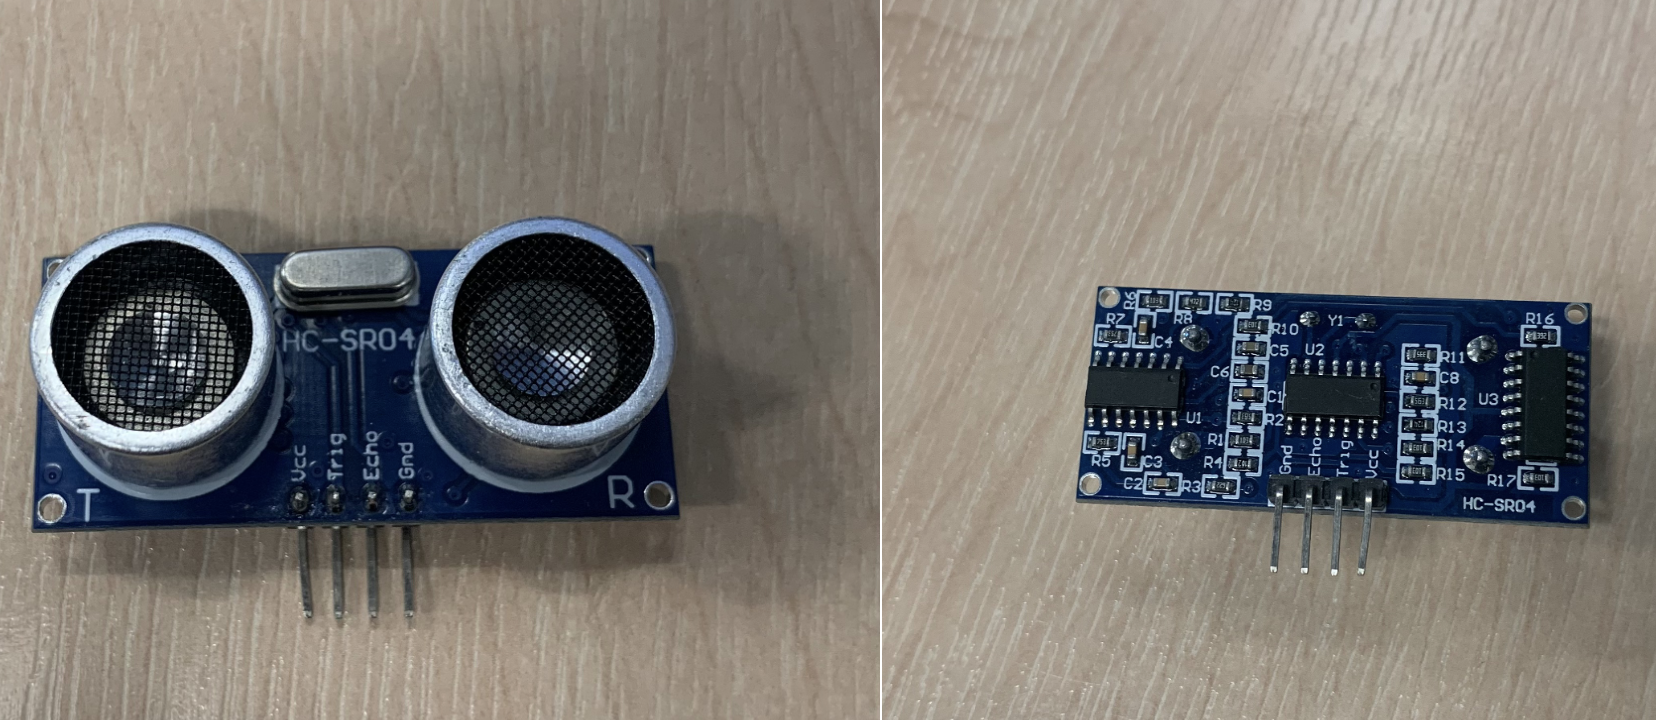
On the Ultrasonic sensor its pins displays where the power, trig, echo and ground are. Within the code it states where the trigger and echo pin must be placed in order to work.
VCC > 5V
Trig > Trigger_Pin 12
Echo > Echo_Pin 11
GND > Ground
To plug in the sensor you will need the F-M Dupont Wire.
Once the device is connected, run the code and to test the sensor. When you open the serial monitor will display 9600 baud, it must be changed to 115200 to output the pings measured in centimetres.
 |
| The sensor running within anything in range. |
 |
| The sensor running when an object is in front of it. |
To measure the distance in centimetres if it is less than 21cm then move the servo. To implement the if function we will need to go Help > Reference. Found under Structure open the IF page, in there the following example can be manipulated to produce the idea.
NewPing will be combined with Sweep to create NewPingsweep.
Demonstrates how the ultrasonic sensor works. If there is something above the sensor it will carry that sound wave hit that object back and forth which is then seen on the serial monitor.


With this code the execution shows that the servo moves once while the ultrasonic sensor continues to give readings on the serial monitor. In order for the servo to move it has to be reset every time by pressing the reset button on the Arduino board. There are many instances where things can go wrong with this set up. For example, my sensor was not stable which would present an error of accuracy in readings. The sensor needs to be stable and placed in a way where it will not be tampered with to proof correct measurements. Another would be if there was some discrepancy with the code where something was left out which would result in the the device not working completely or partially.
-----------------------------------------------------------------------------------
At the end of this session we were given a challenge. It was to build a system that slowly closes curtains using a servo motor when it gets dark outside. When there is light, the curtain should open. Read the sensor every 10 seconds. I was able to complete the set up of the device but only partially managed the code by combining the previous week's codes together.
 |
| Device set up for the challenge |
 |
| An attempted at the code |
Footnote


Comments
Post a Comment